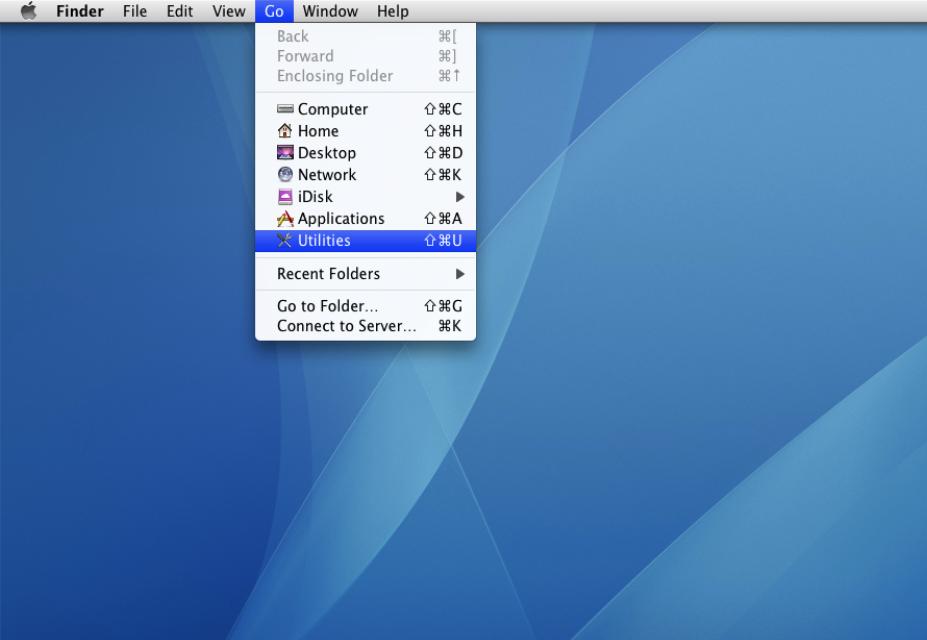
1.在桌面上方的功能列表中點選「前往」,並選擇「工具程式」。
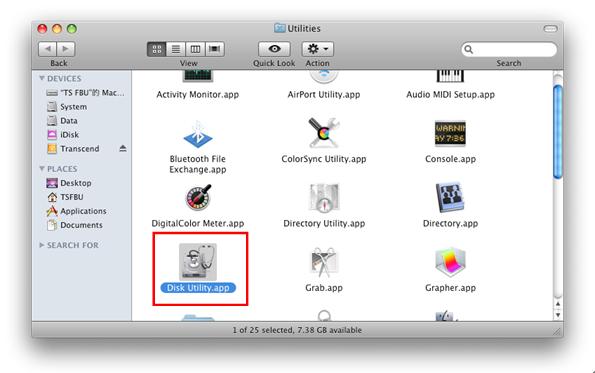
2.選擇「磁碟工具程式」。
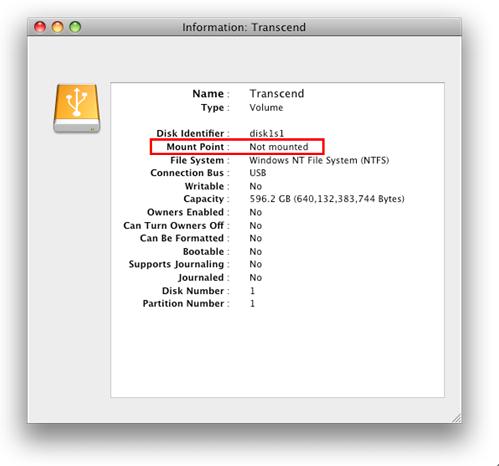
3.在左邊的欄位中,找到「Transcend StoreJet」的磁碟,並選擇在它下方的卷宗。點選上方工具列的「資訊」查詢此卷宗是否有裝載。若無裝載,請在該卷宗按下右鍵,並點選「裝載」。
4.點選「修理工具」的標籤頁,並點選下方的「修理磁碟」嘗試修復您的StoreJet (外接式硬碟)。

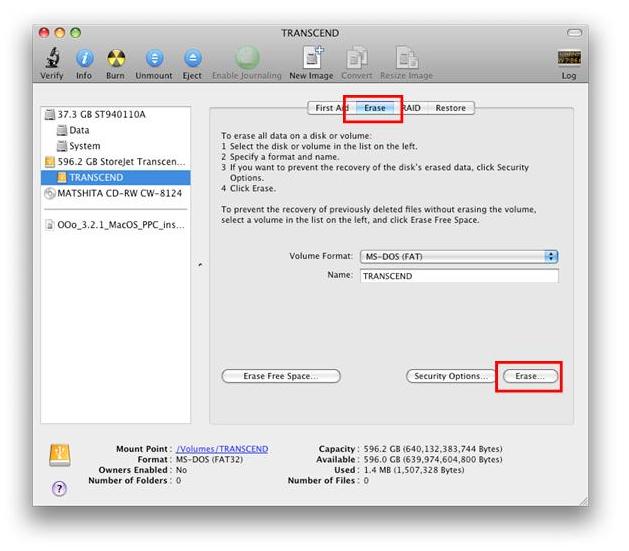
5.若您的卷宗沒有出現或無法裝載,您必須清除您的磁碟,將它重新格式化。請到「清除」標籤頁,設定好您想要的格式後點選「清除」。完成清除之後,您將可以再次使用您的StoreJet。
提醒您,若您想要嘗試資料救援,請在清除磁碟之前執行。